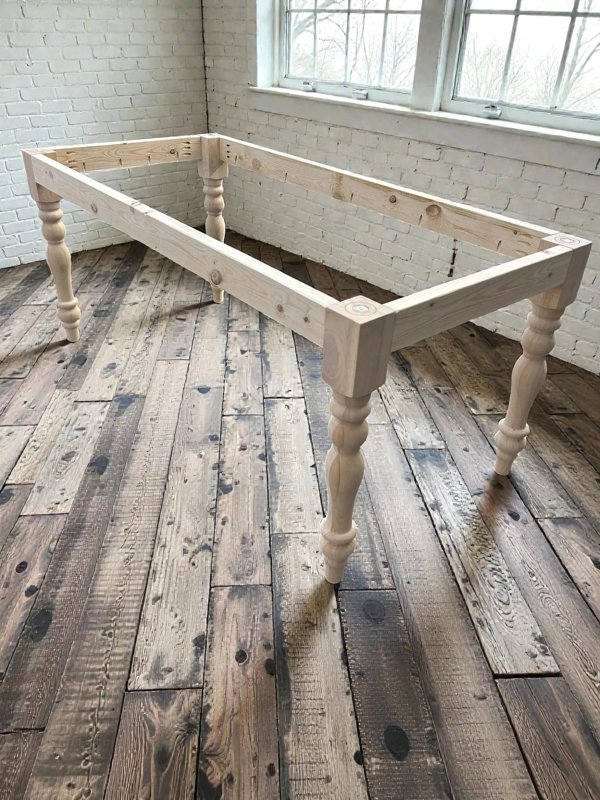
Start with how you eat
Write down your normal seating needs before shopping for materials. A table for two people most evenings is a different project from a table used for homework and Sunday meals. Let your actual routine decide the size rather than copying a room photograph.
Choose your tabletop first
A purchased butcher-block panel, a hardwood top made by a local woodworker, and a reclaimed surface all create different projects. Know the dimensions, thickness, condition, and attachment requirements of your chosen top before deciding which base fits it.
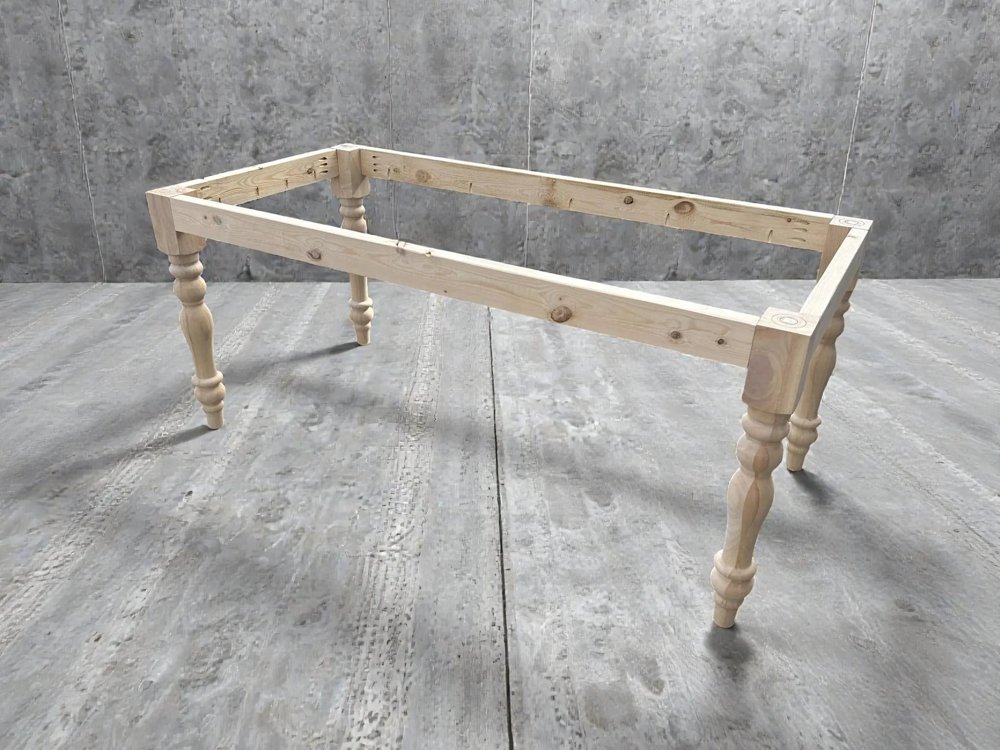
The shape is ready. The choices are yours.
Start with an unfinished foundation and choose the tabletop and finish around your project.
Explore the turned-leg base kit ↗Use a kit for the foundation
This turned-leg base gives you prepared components rather than a lumber shopping list. You still assemble and finish it, but you can concentrate on getting a coordinated dining table rather than designing every apron and leg connection yourself.
Plan the finished height
Add the actual tabletop thickness to the base height before deciding the table will work with your chairs. Sit in a chair and check knee room, including the apron below the top. A beautiful surface cannot fix an uncomfortable seating arrangement.
Choose a finish with intention
Bring a cabinet sample or chair photo into the decision. You might paint the legs to complement the kitchen and leave your tabletop natural. Test the full finishing system before coating visible surfaces, especially when combining different wood species.
Make a realistic supply list
Include top attachments, clamps, measuring tools, finishing supplies, and protective equipment. The base kit is only one part of the finished table. Check what you own before buying duplicates and arrange help for moving a heavy top.
Give the project a useful ending
After assembly and finish curing, check the completed table for level, secure attachment, and stability. Then use it. The point of a personal build is a dining table that belongs in your home, not a project that stays almost finished in the garage.
Your project starts with a base
Four unfinished rubberwood turned legs, prepared pine apron/skirting pieces, and leg-to-apron screws. You supply the top, finish, tools, and suitable top attachments. Assembly instructions are not included; buyers should be comfortable assembling furniture. Legs ship from the supplier and aprons from our shop, so parcels may arrive separately.
Ready to plan your version?
See current kit options, detailed dimensions, price, and availability on Curbside Treasures. Have a particular top in mind? Ask about its dimensions and support needs before ordering.
View the exact turned-leg kit ↗Product details checked October 19, 2026. This guide is written by the seller and features our own kit. General project advice does not replace a top-specific assembly or mounting plan.