1. Measure the top itself
Record its length, width, and thickness. Use measurements rather than a label such as “six-foot table,” especially for older or handmade pieces. Your base choice needs to relate to the actual surface you own.
2. Inspect the underside
Look for existing attachment holes, damage, added bracing, and uneven areas. The underside determines more about your assembly plan than a polished photograph of the top surface ever will.
3. Decide which features are worth keeping
Maybe it is the grain, a worn edge, or the marks from years of family use. Identifying what you like helps you plan a base and finish that complement the top instead of competing with it.
4. Think about the people sitting there
Check chair width, arm height, and the space beneath the apron. A table can fit a room while feeling cramped to sit at. Include your actual chairs in the planning process.
5. Match the attachment method to the material
A wood top, manufactured panel, or specialty surface may call for a different approach. Confirm an appropriate attachment method for your specific top, including its thickness and any movement requirements.
6. Confirm compatibility before placing the order
Send the seller your measurements and questions if anything is unclear. A saved tabletop deserves a base chosen for its shape and construction, rather than a purchase based on style alone.
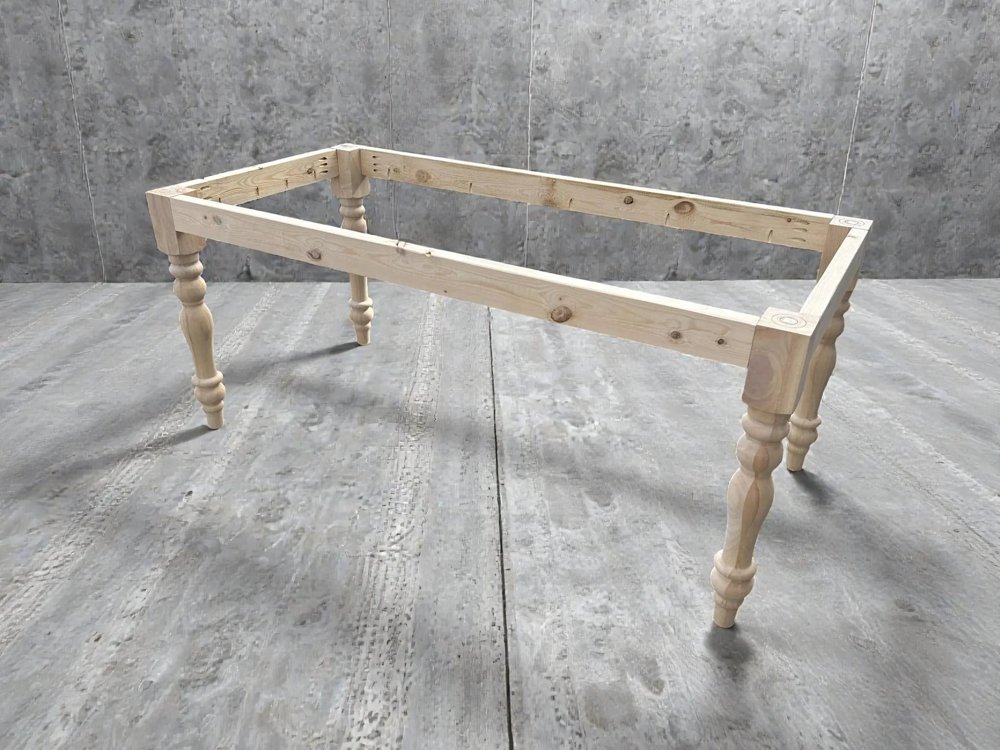
Ready to explore a turned-leg farmhouse look for that top? Review the unfinished base kit and its size options here.
Plan your version
Review current kit options, dimensions, and included components on Etsy. This is an unfinished base for self-assembly; the tabletop and finish are separate. Assembly instructions are not included.
Shop the turned-leg DIY base on Etsy ↗Written by Curbside Treasures. This guide features our own product.