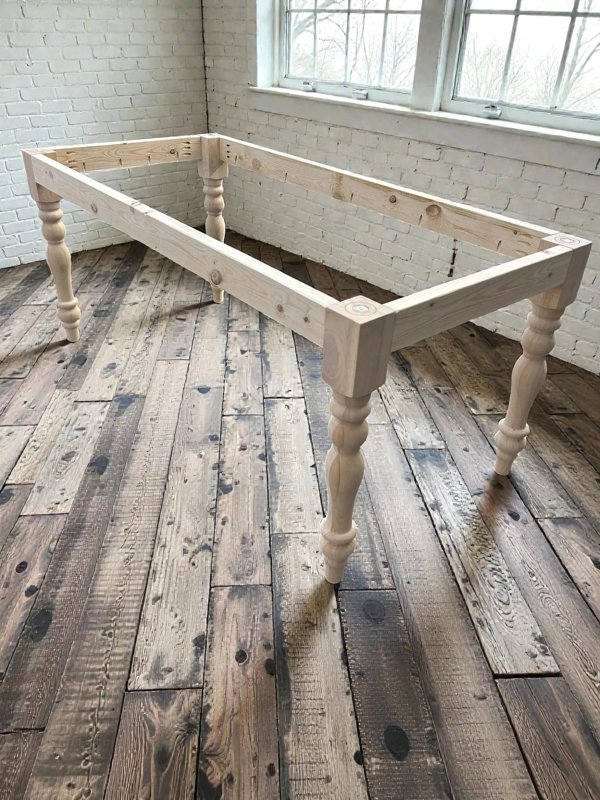
The available dining zone
Mark where the dining area begins and where another activity needs space. In an open room, the table may share circulation with the kitchen or living area. Measure the usable zone instead of assuming the whole room belongs to dining.
The tabletop footprint
Tape the actual proposed length and width on the floor. Walk around the outline and compare it with a smaller option. The top occupies the room; the smaller base footprint should not be used as a substitute for this check.
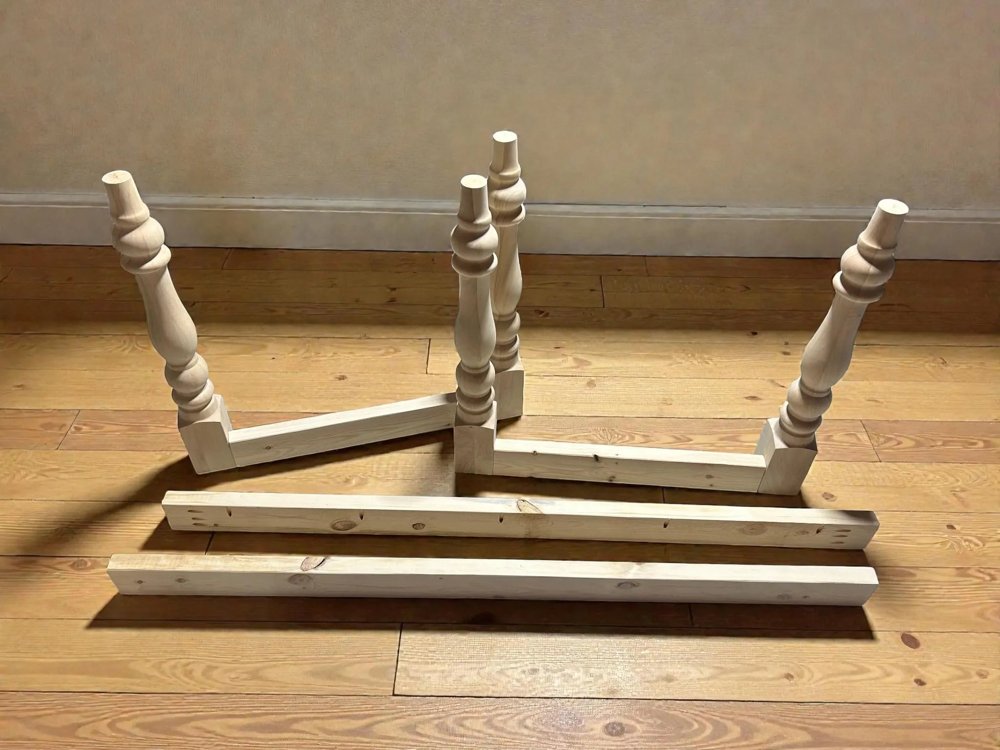
The shape is ready. The choices are yours.
Start with an unfinished foundation and choose the tabletop and finish around your project.
Explore the turned-leg base kit ↗Chair space in use
Pull out the chairs you plan to keep and sit in them. Check the space behind them during normal movement. A layout that looks open with every chair pushed in can feel very different when people are eating.
Door and drawer travel
Open the nearest cabinet, appliance, and room doors while the chair positions are marked. Avoid a table that requires moving furniture to use everyday storage. Testing real motion is more reliable than a photograph with everything closed.
Apron and leg clearance
Measure chair width, seat height, and any arms against the planned base. Leg spacing affects where seats can sit, while the apron affects knee room. A narrow top alone does not guarantee that your seating arrangement will be comfortable.
Finished table height
Add your chosen top thickness to the base height, then compare that result with your chairs. Do this before ordering rather than discovering the problem after finishing. A tabletop substitution can change more than the color of the project.
The route into the room
Measure doors, corners, and stairs along the delivery and assembly route. Decide where to assemble the table and how to move the finished piece. A careful plan includes getting it into place, not just making it fit once there.
Your project starts with a base
Four unfinished rubberwood turned legs, prepared pine apron/skirting pieces, and leg-to-apron screws. You supply the top, finish, tools, and suitable top attachments. Assembly instructions are not included; buyers should be comfortable assembling furniture. Legs ship from the supplier and aprons from our shop, so parcels may arrive separately.
Ready to plan your version?
See current kit options, detailed dimensions, price, and availability on Curbside Treasures. Have a particular top in mind? Ask about its dimensions and support needs before ordering.
View the exact turned-leg kit ↗Product details checked October 19, 2026. This guide is written by the seller and features our own kit. General project advice does not replace a top-specific assembly or mounting plan.