Building your own dining table is satisfying when you have a plan, but a box of unfinished parts is not a ready-to-use dining set. This guide is for a DIYer who is comfortable measuring, drilling, joining wood, and checking a completed structure. Start here before deciding which version of the base to order.
Are you building a table or just assembling a kit?
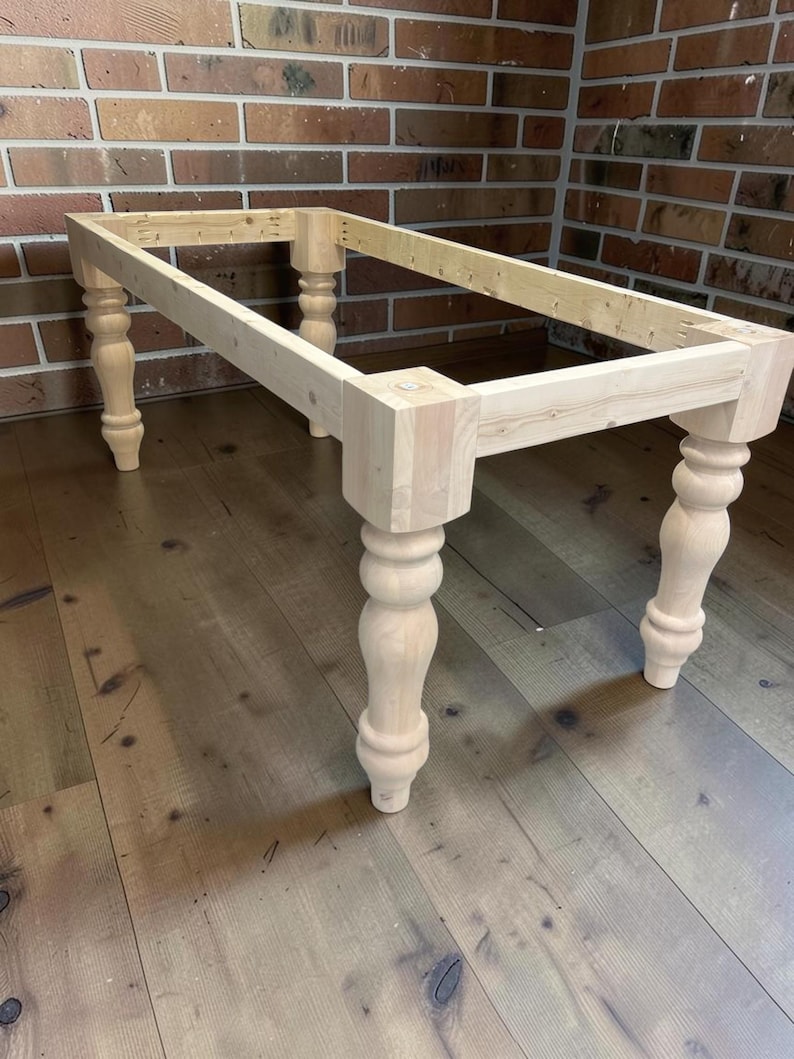
This product is a table base kit: four unfinished chunky turned legs, pre-cut pine apron or skirting pieces with predrilled pocket holes, and screws to connect the legs and apron. You supply the tabletop, finishing products, suitable fasteners for attaching the top, and your tools. There are no step-by-step assembly instructions in the package; listing photos are the assembly reference.
What tabletop size will you use?
Choose a top length of five or six feet and a width of 29 or 37 inches before ordering. The matching base sizes differ, so confirm the option you selected. Have an actual tabletop plan instead of assuming any board or slab will fit safely.
Have you measured the room with seating in place?
Use painter’s tape to represent the top in the dining area, then pull out a real dining chair to test clearance. Account for door swings and walking paths. The base footprint is smaller than the top; do not substitute base dimensions for the space a finished table needs.
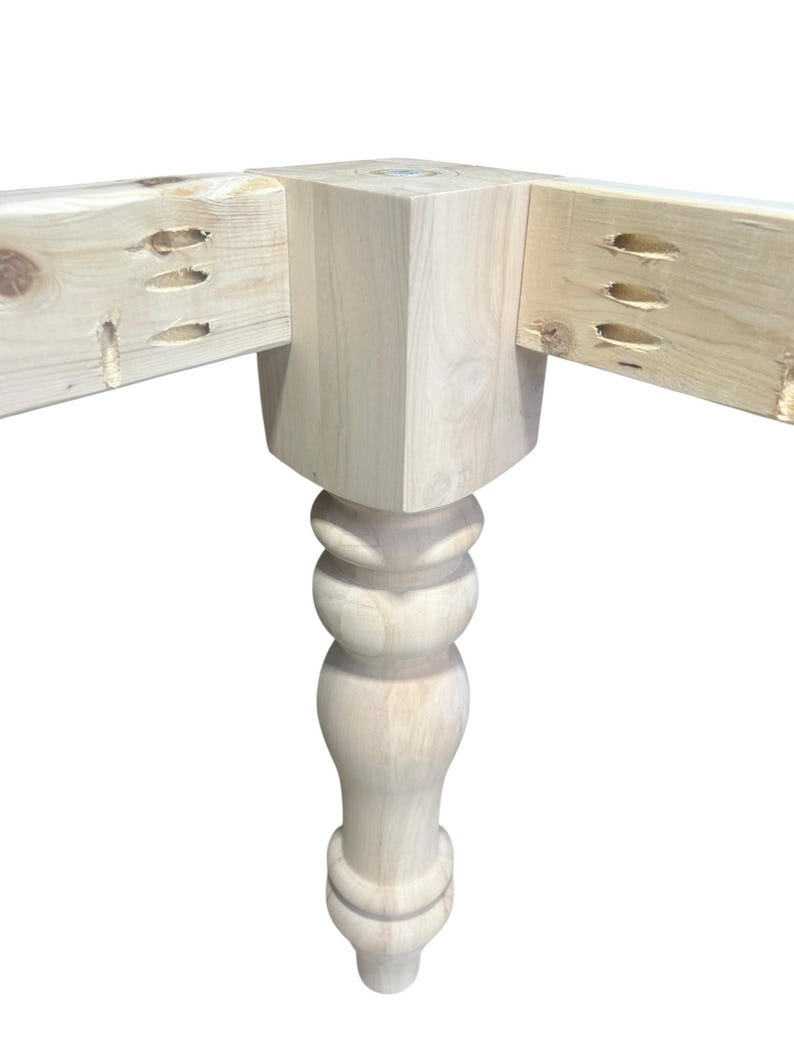 Actual kit photo from our listing · if unavailable, a concept diagram is shown · tabletop not included
Meet the unfinished base kit
Four sculpted chunky legs and pre-cut, predrilled apron pieces. Bring your own tabletop, top fasteners, finish, tools, and assembly know-how.
Shop the base kit ↗Can you make reliable wood joints?
Predrilled pocket holes remove some layout work, but correct alignment and sound fastening are still on the builder. Lay the parts out dry before fastening, check squareness and stability, and seek an experienced woodworker if the joinery is unfamiliar.
Do you have everything for the top attachment?
Screws for attaching the tabletop are not supplied because top thickness varies. The product description recommends 2.5-inch pocket-hole screws for a typical 1.5-inch top, but a builder must verify placement, penetration, movement allowance, and compatibility with the actual top and hardware.
How will you finish two wood species?
The turned legs are rubberwood while the aprons are pine. These can take stain differently. Test your paint or stain and clear-coat system on representative pieces before doing the visible faces.
What is your build-day checklist?
Have your tools, clamps, a square, tape measure, appropriate safety gear, tabletop, finish supplies, and a clean workspace ready. Since the legs and aprons may arrive separately, count and inspect all parts before scheduling the build. That is a much calmer weekend than discovering missing supplies midway through.
Before you order
Choose a top and matching base size, then confirm your tools, skills, and finishing plan before ordering.
Questions builders ask
Is this beginner furniture with instructions?
It is intended for DIY assembly by someone comfortable with woodworking; assembly instructions are not included.
Is the dining tabletop included?
No. This product is the unfinished base, not a completed table or tabletop.
Will all boxes arrive at once?
Not necessarily. Rubberwood legs ship from the supplier while apron parts are made by the Curbside Treasures shop; parcels may arrive separately.
The Shopify listing shows current choices, price and availability. Purchases are completed through Curbside Treasures, not this editorial site.