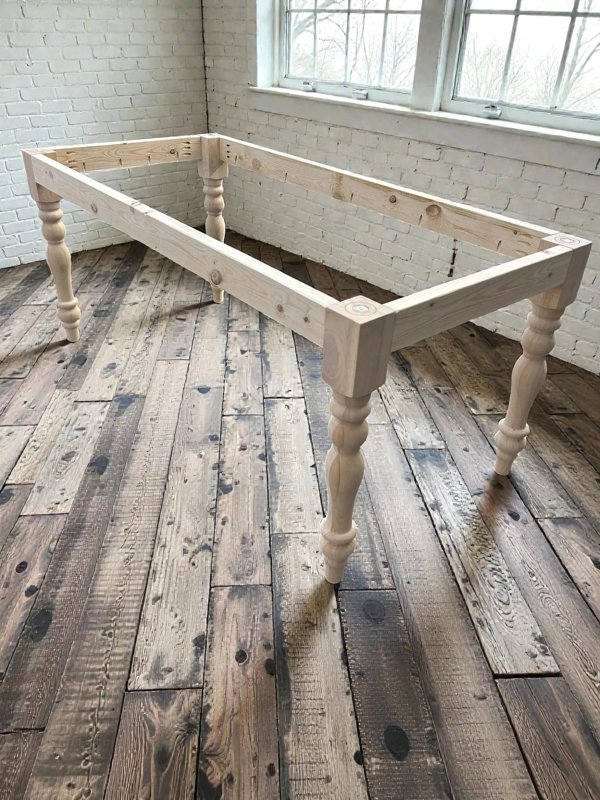
Choose a balance of shapes
A strongly curved edge and highly visible legs can compete for attention. Compare the actual slab silhouette with the base profile using a simple sketch. A quieter base finish may let the top remain the focal point without changing the character of the legs.
Measure the narrowest usable area
An irregular slab can be wide at the ends and narrow where the base needs to sit. Measure the underside across the planned attachment area. The widest point is not a reliable guide to whether the base fits beneath the whole surface.
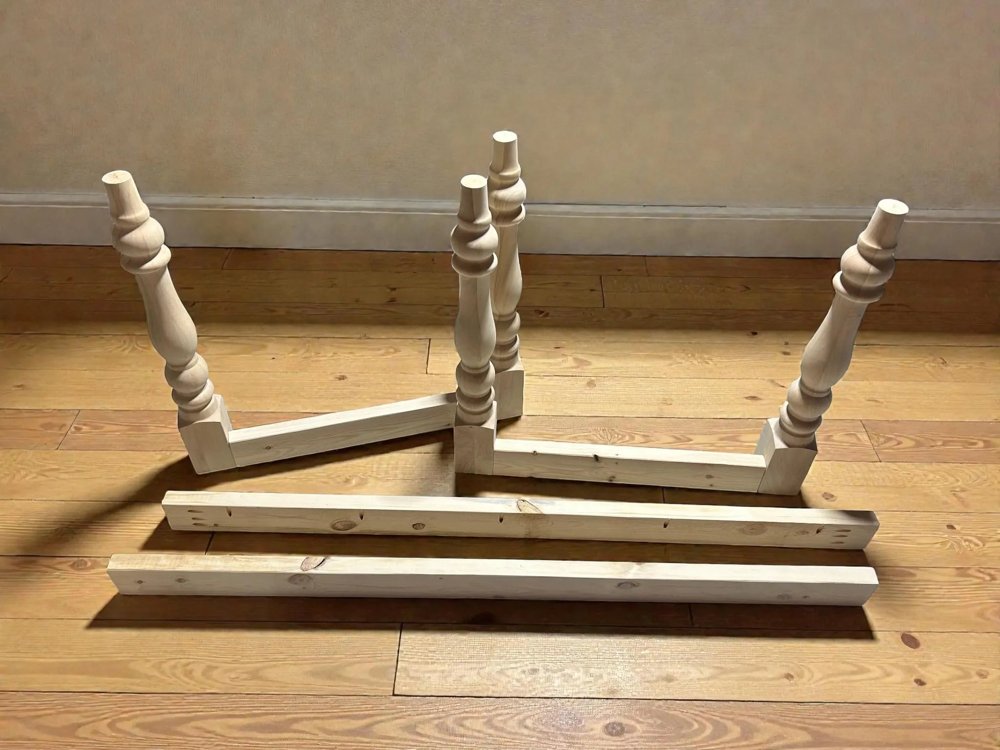
The shape is ready. The choices are yours.
Start with an unfinished foundation and choose the tabletop and finish around your project.
Explore the turned-leg base kit ↗Evaluate support and overhang
Give the slab's dimensions and weight to the base seller and a qualified maker. Ask whether your plan needs another support solution. The current kit does not provide a universal live-edge weight rating, and attractive proportions alone do not establish adequate support.
Plan attachment around the actual wood
Voids, checks, and repairs may affect mounting locations. Ask the slab maker for an attachment plan suited to its construction and movement. Avoid relying on generic hardware advice that ignores the material beneath the surface.
Keep seating practical
The live edge can change how close someone can sit or where a chair meets the table. Test the proposed chair positions and knee space. A slab should offer comfortable usable dining space, not just an impressive outline when photographed from above.
Your project starts with a base
Four unfinished rubberwood turned legs, prepared pine apron/skirting pieces, and leg-to-apron screws. You supply the top, finish, tools, and suitable top attachments. Assembly instructions are not included; buyers should be comfortable assembling furniture. Legs ship from the supplier and aprons from our shop, so parcels may arrive separately.
Further reading: Bally Block installation guidance on wood movement. Follow your own top maker’s specifications.
Ready to plan your version?
See current kit options, detailed dimensions, price, and availability on Curbside Treasures. Have a particular top in mind? Ask about its dimensions and support needs before ordering.
View the exact turned-leg kit ↗Product details checked October 19, 2026. This guide is written by the seller and features our own kit. General project advice does not replace a top-specific assembly or mounting plan.