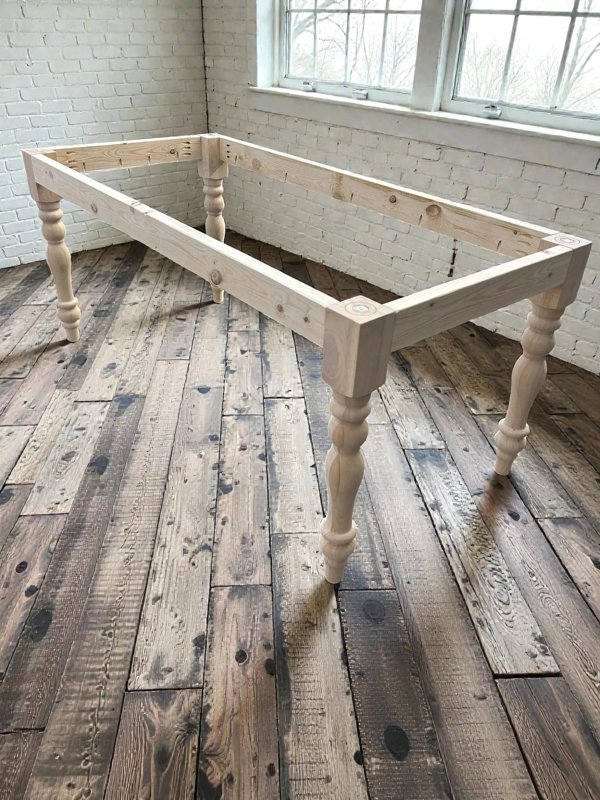
Decide between contrast and continuity
A contrasting base can make the top stand out; a quieter color can blend with cabinets or chairs. Look at the room as a whole before choosing. You do not need every wood surface to match for the dining area to feel intentional.
Test both wood species
The legs and apron use different species, so the same stain may look different on each. Test representative areas or samples before committing. If an exact uniform stain appearance is essential, ask about the materials and consider professional finishing help.
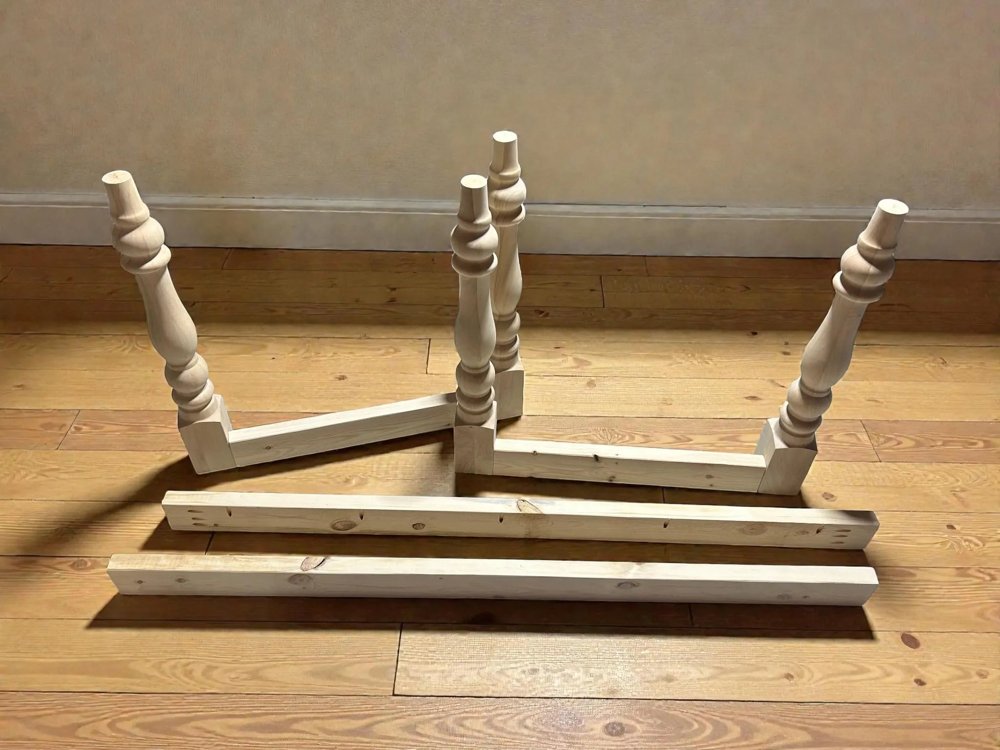
The shape is ready. The choices are yours.
Start with an unfinished foundation and choose the tabletop and finish around your project.
Explore the turned-leg base kit ↗Sample under real lighting
A color that looks warm in a store can look gray beneath your dining light. Place samples beside the top and floor at different times of day. That small check can prevent a full repaint after the table moves indoors.
Follow the finish system
Use compatible preparation, primer where required, paint or stain, and protective products. Follow label directions for sanding, recoating, ventilation, and cure time. Mixing products without checking compatibility can create more work than choosing a coordinated system at the start.
Plan around the turned shape
Curves and transitions can collect excess coating. Work carefully and inspect from several angles while the finish is workable. Thin, controlled application according to the product directions helps preserve the leg shape instead of burying details beneath heavy layers.
Keep the recipe
Record products, colors, sheen, and the steps that worked on your samples. Save the notes for future touch-ups or coordinating furniture. Making it your own is easier to repeat when you have more to rely on than a half-remembered stain name.
Your project starts with a base
Four unfinished rubberwood turned legs, prepared pine apron/skirting pieces, and leg-to-apron screws. You supply the top, finish, tools, and suitable top attachments. Assembly instructions are not included; buyers should be comfortable assembling furniture. Legs ship from the supplier and aprons from our shop, so parcels may arrive separately.
Ready to plan your version?
See current kit options, detailed dimensions, price, and availability on Curbside Treasures. Have a particular top in mind? Ask about its dimensions and support needs before ordering.
View the exact turned-leg kit ↗Product details checked October 19, 2026. This guide is written by the seller and features our own kit. General project advice does not replace a top-specific assembly or mounting plan.